AIPRINTGEN WIKI · №22
How to make a custom figurine for 3D printing
Published: Updated:
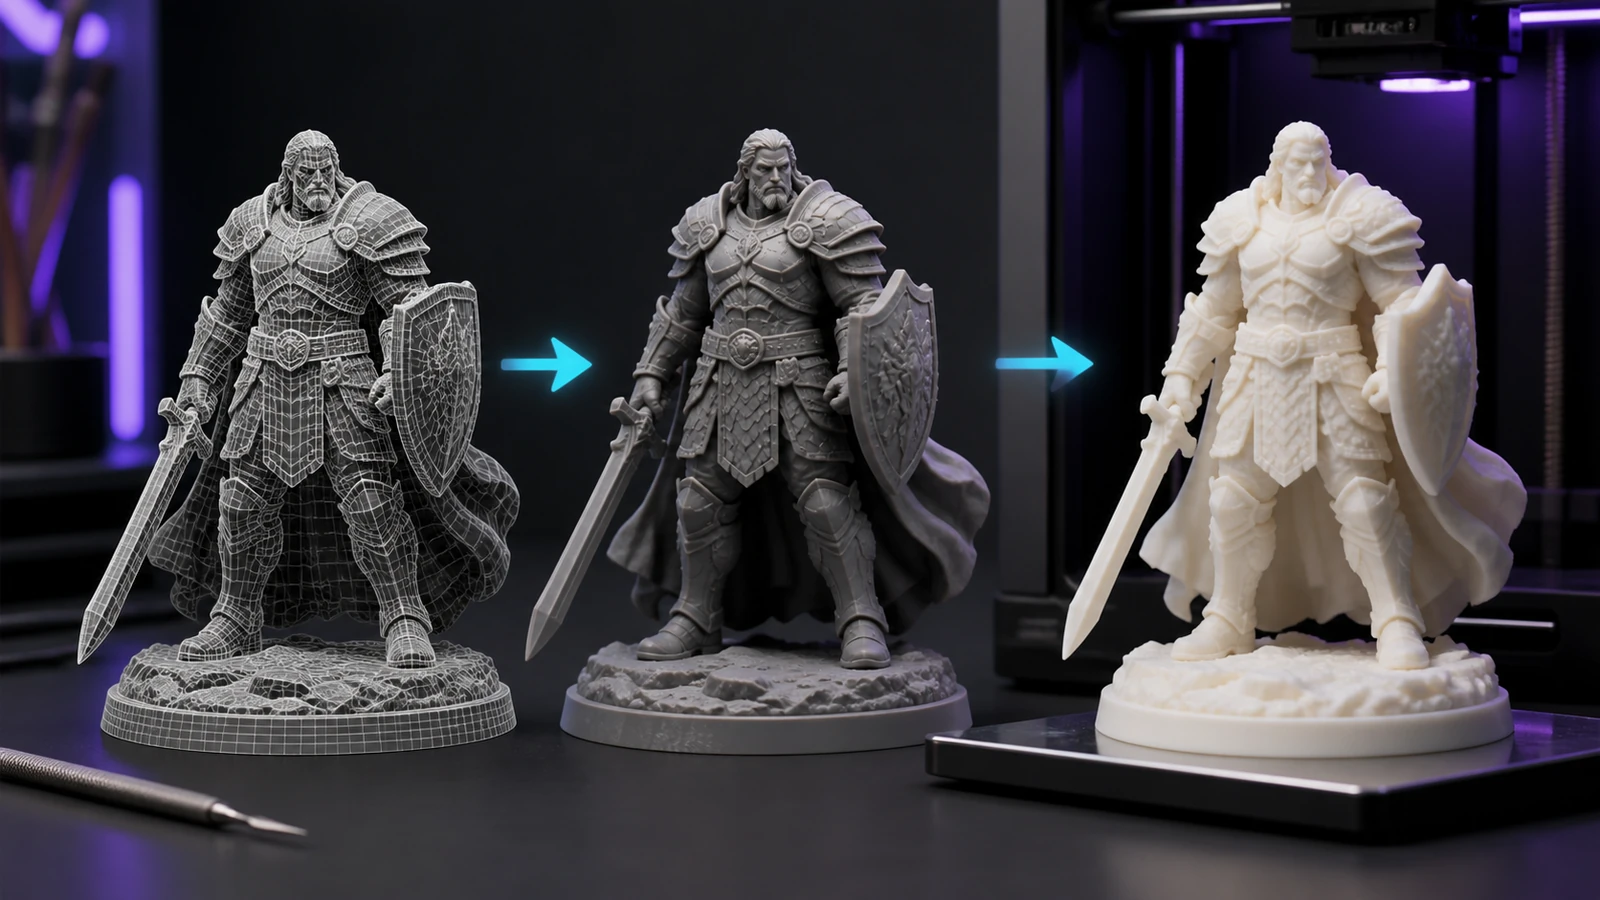
Short answer. Choose the style and size, prepare one or more consistent images, generate several options, inspect the model from every side, add a stable base and adapt thin features for FDM or resin printing.
A custom figurine is a tangible reason to learn an AI generator, slicer and 3D printer. It can become a gift for a colleague, athlete, teacher, newlyweds or teammate. The common mistake is expecting one casual selfie to turn automatically into an exact miniature. A convincing result starts with a defined style, informative images and a model designed for physical production.
Decide what kind of figurine you are making
A portrait project can take several forms:
- a realistic bust;
- a stylised full-body figurine;
- a bobblehead with an enlarged head;
- a character in professional clothing;
- a commemorative scene with a base and inscription.
The smaller the final piece, the more helpful stylisation becomes. On a figurine 10–15 cm tall, fine facial features, clothing folds and individual fingers will be simplified by the print process anyway. A larger head, clear silhouette and a few recognisable details often capture the person better than preserving every element of the photo.
Which photos work best?
For a first attempt, choose a sharp front or three-quarter portrait without strong perspective. Hair, a hand or reflections on glasses should not hide the face. A separate full-body shot helps define clothing and pose.
For maximum recognisability, prepare four consistent views: front, back, left and right. The person should wear the same clothes and hold roughly the same pose. Photos from different years give the model conflicting information as hairstyles, proportions and costume details change.
Do not upload another person’s private photos without permission. For commercial work, record that the client is entitled to use the supplied images.
Prepare the 2D reference

The original photo does not need to show the perfect figurine. Use it as the portrait foundation, then build a consistent concept in an image generator: the person in the required outfit, holding the right prop and standing against a simple background.
3D reconstruction works better when:
- the entire character is visible;
- arms and legs do not merge into the torso;
- accessories are thick enough;
- the background contains no objects that resemble body parts;
- lighting preserves the outline.
Make sure the face does not change between views. Attractive but inconsistent images produce worse geometry than a simpler set with matching proportions.
Generate several options
In AIPRINTGEN, you can start from one image, text or a set of views. Do not choose from the front-facing portrait alone. Rotate the model and inspect the back of the head, profile, hands, footwear, props and the contact between feet and ground.
Practical next step: Create a 3D model from a photo
Try two or three generations with different levels of stylisation. A realistic version may preserve clothing better but capture the face less effectively; a caricature may do the opposite by emphasising the head and silhouette. Compare the future printed object, not only the render.
Adapt the model for printing
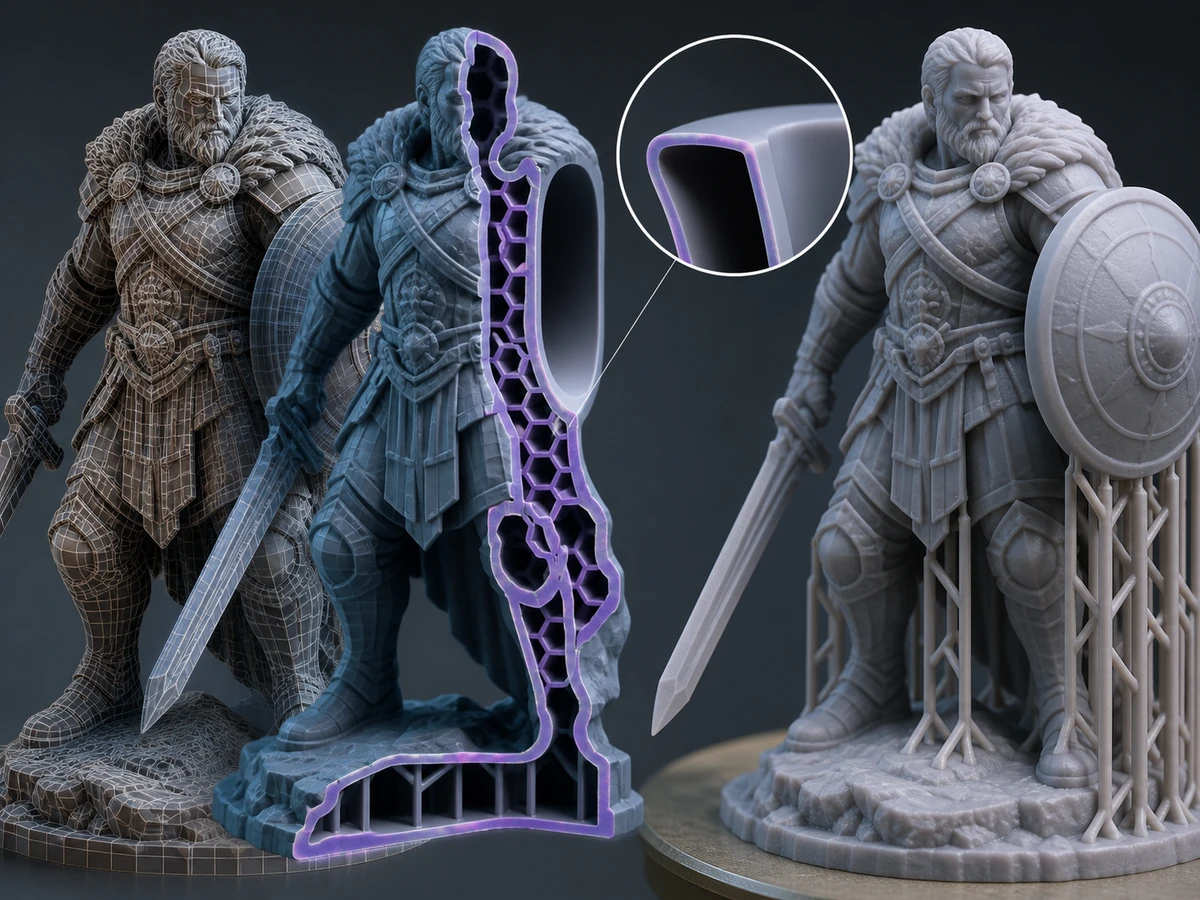
Choose the manufacturing process before export. For FDM, thicken fingers, straps, garment edges and slender props. Resin printing can preserve more fine detail, but long, thin features remain fragile.
Check whether:
- the mesh is watertight;
- any separate parts float in mid-air;
- the base is level and stable;
- ankles, wrists and accessories are thick enough;
- supports can be placed conveniently;
- the head, torso, arms and base should be separated.
Practical next step: Inspect a model in the STL Viewer
If the figurine will be painted, printing selected elements separately can help. The face, headwear or a handheld prop is then easier to orient and finish.
Practical next step: Create a miniature base
Practical example: a gift for a coach
You have one competition photo of the coach and another showing the back of the uniform. First create a clean concept: a stable standing pose, a whistle in hand and the jacket’s distinctive stripes. Generate the 3D model from several views, thicken the whistle and cord, add an oval base and the tournament date. Print the final STL in resin, then prime and paint it.
The project’s value is not that AI created just any person. It is a specific, recognisable gift that can sit on a shelf.
 Our community


